Saturday, August 8, 2009

Ed's Update--1st Regiment of Perrys

Although this is a team project, I'll leave Ray to do the step-by-step descriptions. I'm happy just to get the figures assembled and painted!


That said, here is my first box of Perry infantry, tentatively identified as the 6th Connecticut, assembled and preparing to wade through the Primer River.

Monday, August 3, 2009

The Project Begins

Blog 04 Kitchen Table
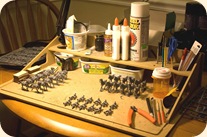
The box from Brookhurst was waitng for me in the carport when I got home from work. I have two boxes of cavalry and six boxes of infantry and I’m ready to start. The other projects have been cleared off the Citadel Workstation to make way for this one. The LotR figures are back in their boxes, the Perry plastic French battion has retired in a plastic box, and the Space Marines are on furlough. Piles of Plastic ACW frames have taken their place. Note that I have to work areas in my house. One is a permanent workbench I use for painting. It has the lights and space to spread out and leave things out and out of the way. The other is a Citadel Workstation that I use for figure prep. This I put on the kitchen table it has a lamp and the overhead light from the lighting fixture. Light here isn’t critical, but being able to move the whole thing out of the way if I need the table makes the Citadel Workstation very useful. Having a painting area and a prep area means that I can switch from one to the other when I get bored or fatigued.
I decided to do the cavalry first. Cavalry, to me, is always the “hump” in any project. Perhaps it’s the horses and trappings that make them seem so much work. Somehow I always felt like one cavalry model equaled about four times the work of an infantry model. So, I decide to attack what I thought would be the most difficult part of the project first.
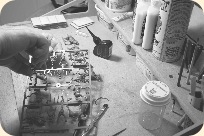
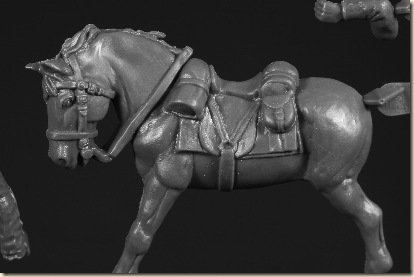
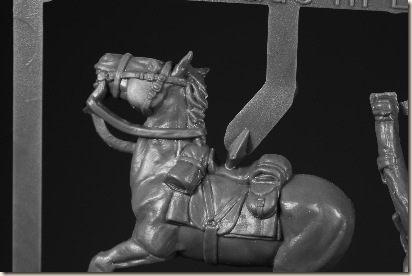
As always, with plastic models of any sort, I took my time and studied the parts on the frames. It became obvious that, not only are the hats interchangeable, but the sides of the horses are as well.Blog 02 Clipping Parts
I separated the horse halves from the sprue (frame) using plastic nippers.  If you don’t have a pair of these, you must get some. They are basically flush cutters (one side of the jaw is beveled and the other straight so that the cut is flush)
Blog 03 Matching Horse Halves
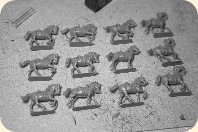
In the picture you can see that I’ve laid out the left side of the horses (the side with the head attached) from the three identical frames in the same order. I then laid the right sides of the horses on top ensuring that the same right half from each sprue had a different left half. This makes each and every horse within a box unique. Even the horse halves which appear standing look good mated with a running opposite side; they simply appear to be pawing the ground. The way these horses go together is brilliant. Once mated, the sides were cleaned up and glued together using Testors Model cement. I really like this glue and the applicator in which it comes. It’s a fine steel tube and it comes with a couple of wires to clean it out if it should become clogged. So far, I’ve avoided a clog by clearing the tube (squeezing the bottle when upright and releasing, thus pushing out any glue in the tube then sucking air in to make sure) before screwing on the cap. It also helps to line up all of your parts before starting to use the glue so the cap is off the minimum amount of time possible.
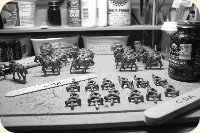
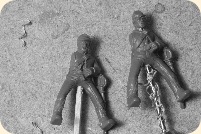
While the horses cured overnight, I began on the cavalrymen figures. I clipped out all the men and cleaned the seams. The only truly visible seams are on the upper left arm and the right boot (for Blog 05 Craft Sticksthose that have a visible boot). Cleaning was a breeze with a round and a triangular jeweler’s file. If you choose to use files on plastic, be gentle! It’s much easier to make a several gentle swipes than it is to repair a gouge. The only flash is on a couple of the cavalry men between the boot and end of the saber’s scabbard. I use a small stiff brush to clean up the bits of plastic for filing as they tend build up a lot of static electricity and you don’t want them trapped under the primer. The cavalrymen then get a hole drilled underneath just slightly smaller than the diameter of a toothpick. Blog 07 Riders on Toothpicks The tip of a toothpick is cut off about halfway down the taper. The toothpick is shoved into the hole making a pretty tight friction fit. Now, each figure can be handled by the toothpick. Each one can be mounted on a piece of corrugated cardboard simply by inserting the toothpick into the cardboard edge on for priming and drying.
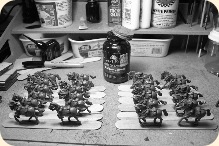
Once the horses are cured, they get mounted to jumbo craft sticks with rubber cement. I use rubber cement because it’s easy to remove once the painting and over coating is done. Blog 06 Horses Cemented to Sticks Yet, the bond is generally strong enough to withstand normal priming and painting. Occasionally I’ll bumps a figure and knock it loose but then I just rubber cement it right back on the stick (working on another stick until the cement dries).
Unfortunately that’s as far as I got before I had to catch a flight for a business trip. When I return, next week, I’ll pick up this journal where I left off and finish the assembly and priming of the cavalry models. Look for the update to the assembly and painting of the cavalry in a couple of weeks.

Saturday, July 25, 2009

Perry Hard Plastic ACW

I recently paid a visit to Brookhurst Hobbies in Garden Grove, CA. Ed an I had been playing Memoir ‘44 the previous week and he had shown me his copy of Battle Cry. Which, naturally, had gotten me thinking about ACW.
Now I’ve always been biased against ACW games. I have no idea why. Just one of those things, I guess. We all have our likes and dislikes and sometimes they just defy explanation.
Anyhow, there I was in Brookhurst wandering the aisles daydreaming about making my own version of Battle Cry using painted miniatures when I espied the boxes of plastic Perry ACW cavalry and infantry.
I bought one box of each just to check them out with Battle Cry in mind. The cavalry box build up into a unit of 12 and the infantry box builds up into 2 units of 18. One thought led to another and before you know it, I was thinking that those unit sizes were very close to The Sword and the Flame units.
A few quick calls to Ed and a couple of emails later and we have hatched a plan to host an ACW even-up fight at a 2010 Millennium convention in Round Rock (Austin) Tx.
Here are some pictures of the Perry ACW plastics that have motivated us to start another convention project:
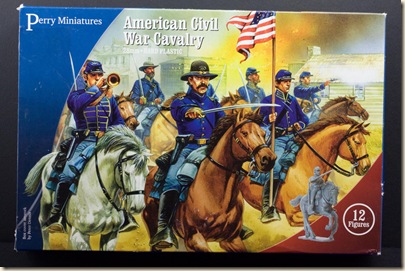
Cavalry Box Front
How could I resist a box with cover art like this?
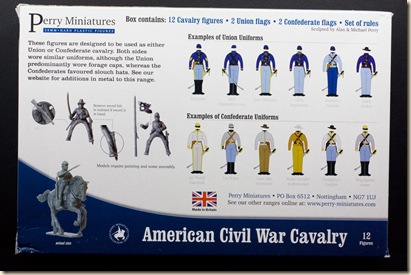
Cavalry Box Back
The back of the box provides a rudimentary painting guide.
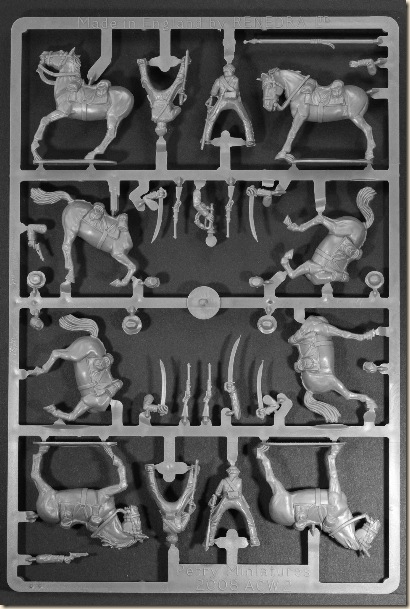
Cavalry Frame Front
The front of one of the three identical frames
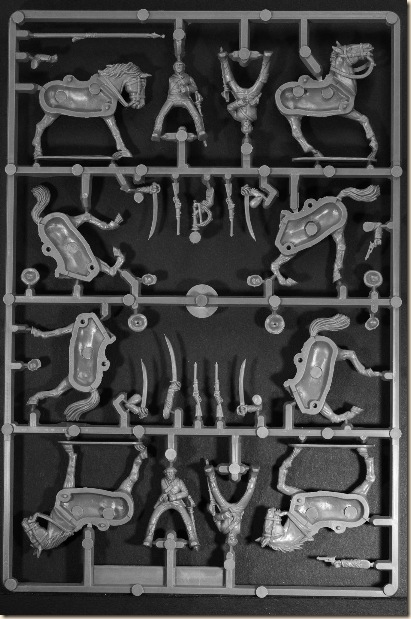
Cavalry Frame Back
And the back of the same frame
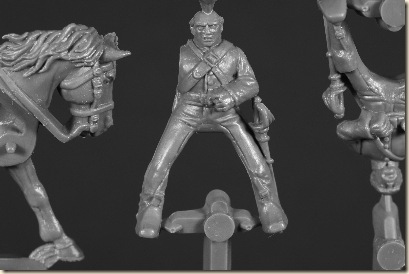
Cavalry Frame Detail 01
A close up of one of the cavalrymen
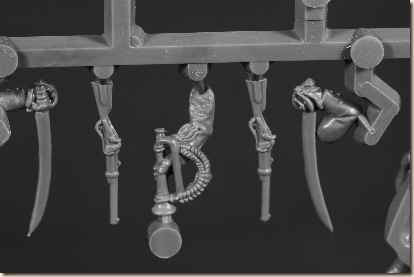
Cavalry Frame Detail 02
A shot showing some of the detailed parts
Cavalry Frame Detail 03
One of the well sculpted horses
Cavalry Frame Detail 04
And here’s another

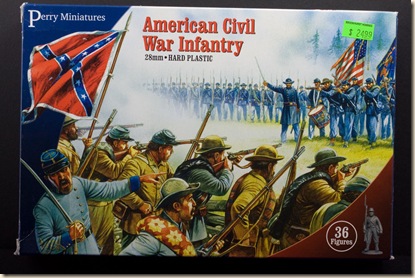
Infantry Box Front  Brookhurst price tag on the box says $24.99—a good price.
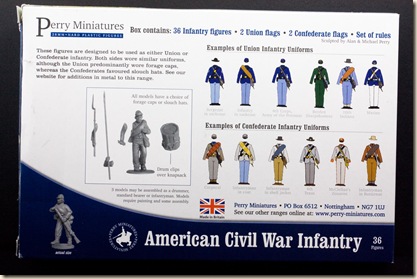
Infantry Box Back
Like the cavalry, the infantry box provides a painting guide
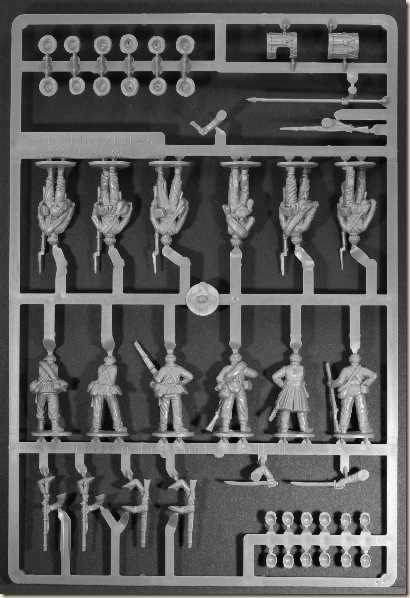
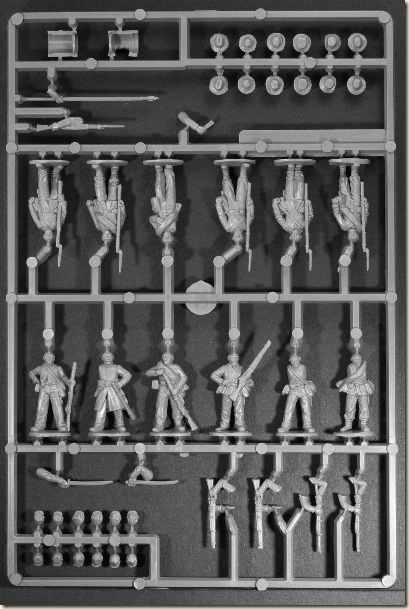
Infantry Frame Front
The front of one of the four identical frames
Infantry Frame Back
And, of course, the back view
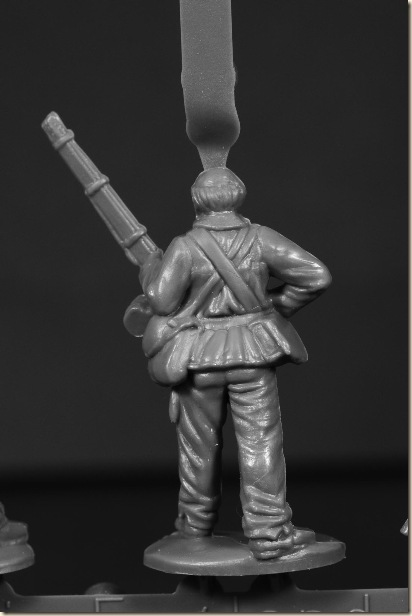
Infantry Frame Detail 01
A good macro lens lets me show you the detailed sculpting
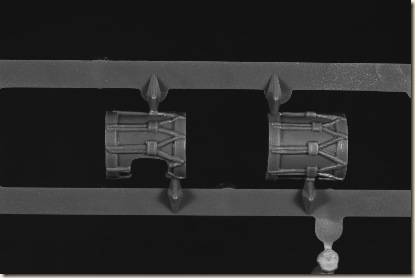
Infantry Frame Detail 02
The drum is two parts and clips over the knapsack
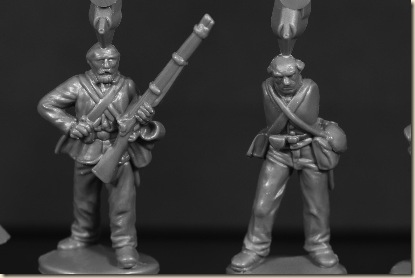
Infantry Frame Detail 03
Here you can see the front of the figure above
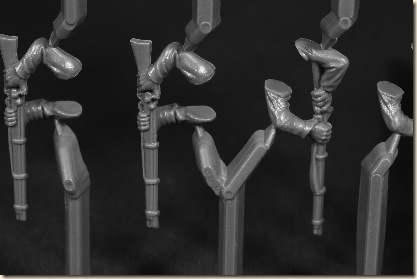
Infantry Frame Detail 04
And here you see the arms for the right figure above
I hope that these pictures have helped some of you decide whether you want these figures of not. I can only say that I’m so impressed with the quality, flexibility and low cost, that they have motivated me to move into an era that I otherwise would have left alone.
In the coming months, I will keep a running commentary on my progress on this project.

The Blue, the Gray, and the Ugly

Introduction

There you are: two “seasoned” wargamers who cannot agree on a new project that can interest both. One is all for tricornes and big battalions, the other for Fuzzy-Wuzzies and pith helmets. What to do?

Of course there is an obvious solution: find a third period which neither player loathes, but offers the opportunity for research, painting good figures, and a fun game. In this case, the American Civil War.

It may have started during our Memoir ’44 binge. We pulled out the first published version of the “Command & Colours” system (on which Memoir ’44 is based), Battle Cry. Although we didn’t end up playing it, we did discuss modifying the rules for use with our current collections, or possibly using new figures to do so. In particular, the plastic figures from Perry Miniatures seemed to be a good idea.

Ray took the initiative on his next business trip to California, stopping by Brookhurst Hobbies and picking up one each of Perry plastic infantry and cavalry boxes for evaluation. Ray’s enthusiasm for the figures quickly infected Ed and the rest, to paraphrase an old saying, is “historical gaming.”

Where We Are Now

We have decided we want to put together a project which:

1. could be done in about a year,
2. is easily adaptable, or played as-is, in a convention setting,
3. involves enough figures to be interesting, but not overwhelming,
4. isn’t based on any particular historical event, but just an in-period bash, and
5. motivates us to paint nice figures and terrain.

The first thing we did was to buy several more sets of Perry plastics. Ray now has six boxes of infantry and two of cavalry, while Ed has two of each. For the moment, we are using each box of infantry as two units of eighteen figures, and each box of cavalry as one unit of twelve. Preliminary plans are for each of us to build 12 infantry regiments and 2 cavalry regiments evenly distributed between Union and Confederates. That way we can play a small game at either of our houses without the other having to lug their troops around and yet if we want to play a bigger, multi-player game we can use all our troops. It also prevents one of us from having to paint all blue or all gray and butternut.

We have not yet decided on the rules. We are tending toward a game where each unit represents a regiment on the table. Ray has ordered a copy of Larry Brom’s A Glint of Bayonets (a variant of The Sword and the Flame) while Ed has ordered a set of Guns at Gettysburg. Once we decide on rules, we will decide on artillery units and leader figures we need to add.